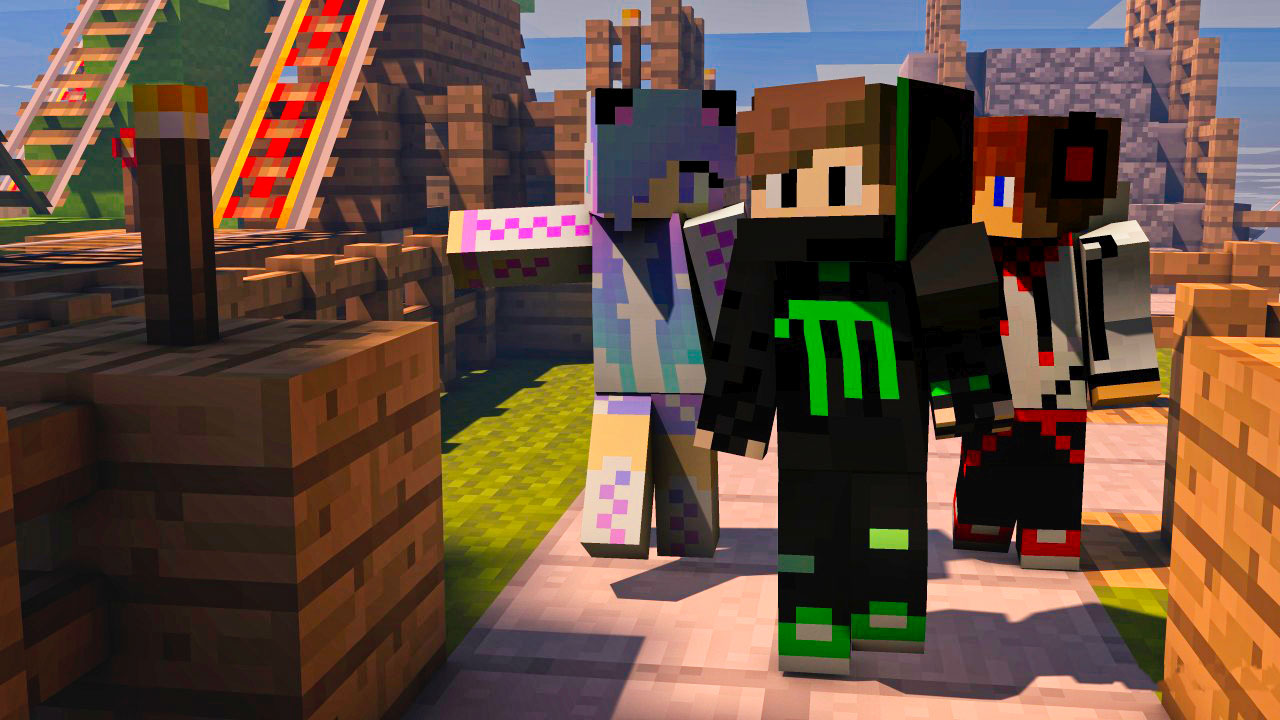
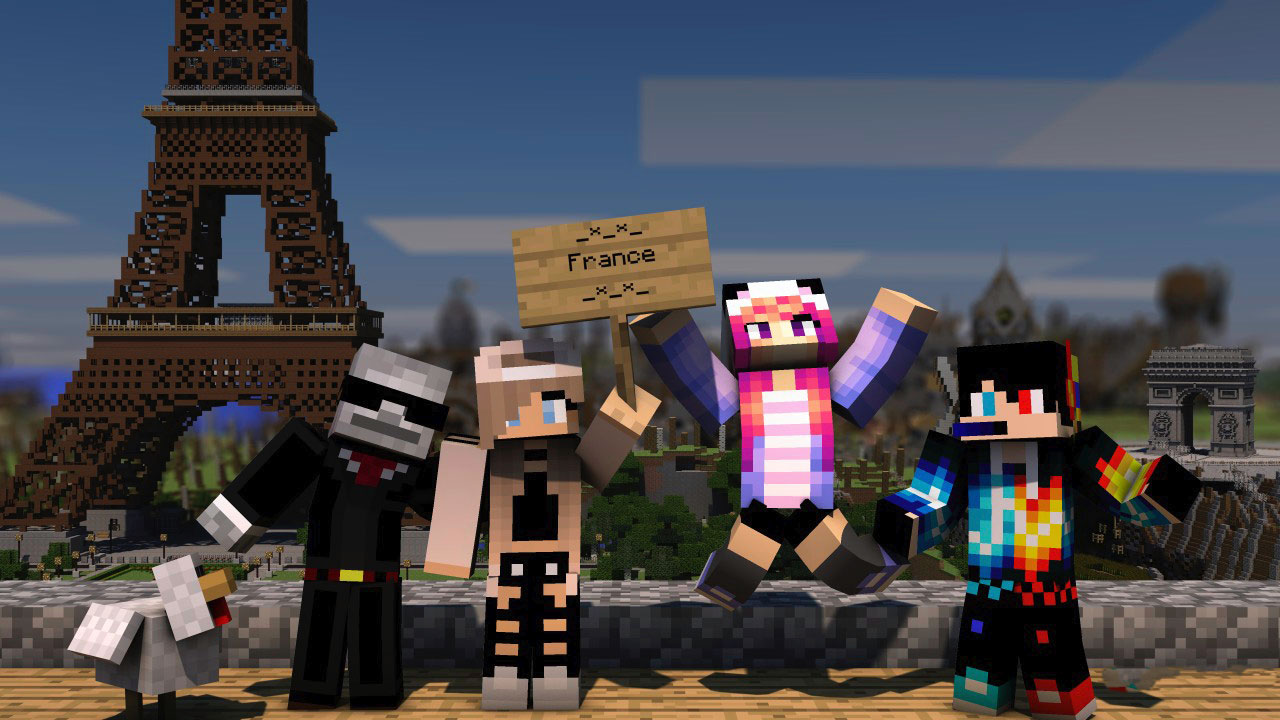
Are you still playing Minecraft with the default avatars? It might be time to use a new and different Minecraft Skin. Skins refer to the textures that are positioned onto a player or mob model.
Skins are split into areas that become the surface area of the character (for example, the front head area, leg areas, etc.). A skin will only allow solid color; transparency doesn’t work on the primary layer and only is utilized in the second layer, which is usually transparent by default; playing offline, pixels can be left free leading to “holes” in your skin. If the skin with transparent pixels on the initial layer is certainly uploaded, the transparent pixels will render as black pixels in-game. The second layer can be utilized to give the character glasses, hats, or other accessories (even a bigger head).
Skins aren’t just for the player models. A skin may also refer to other textures in the game, such as block textures, item sprites, mob skins, etc.
It is worth noting that zombie and zombie pig men mobs can use typical player skins (and vice-versa). Skeleton mobs may use typical player skins as well, but keep in mind that they possess their skinny arms and legs. (If a skeleton mob skin can be used as a player’s skin, their arms and legs will not be skinny.)
In order to use the player epidermis for zombies and zombie pig men you need to align it to the correct place on the .png or the consistency will be broken.
Changing / installing player skins
Java Edition
A player can only alter their character’s epidermis if indeed they have purchased Minecraft. This is carried out on the Profile web page by uploading a valid .png image file (note: .jpg documents will be accepted), that will then replace the default skin.
Skins also have the option of having three or four pixel wide hands, which may be changed on the profile page as well.
The steve.png and alex.png documents in minecraft.jar may also be changed and replaced via a resource pack, but the effects will only be noticeable to players using the source pack, and can affect all players with the default skin.
Console Edition
There are currently 16 default skin types (with the exception of the skin packs), 8 of which are based on the Steve model and the other 8 based on the Alex model, wearing different outfits and skin colors. The skins can be found to be chosen in the ‘Change Skin’ region of Help & Options. The Console Edition enables transparent skins, because the player cannot create their own skins. This prevents issues with completely transparent skin users “haunting” various other players. The participant can add custom made skins to the console editions via hacking; however, this will void the warranty of the console, and the player dangers a ban from either Xbox Live or PlayStation Network for an illicitly modded game or console.
Bedrock Edition
Since Pocket Edition Alpha 0.11.0, Players can choose among the two default skins either Steve or Alex, and may apply their own custom skin. (Uses the same format as the Java edition). The player must select a valid skin picture from their picture library, and will then be prompted to select between your two main versions. Players may also buy epidermis packs which cost $0.99 USD each. Those pores and skin packs are the following: FestiveMashup2016 skin pack, Campfire Tales, the Minecon pores and skin pack, Villains, Biome Settlers Pack 2, Story Setting Skin Pack, Redstone Experts, Trip To The West, Holiday Skin Pack 2015, Biome Settlers Pack 1, Halloween Costumes, City Folk, and Town Folk.
Skin packs
Skin Packs can be found in the Gaming console Edition and in the Bedrock Edition as downloadable content. Skin Packs add extra skins that players may select from together with the 16 default skins (2 in Bedrock Edition) packaged with the game. They often times feature characters from additional video gaming, alongside original designs.
Creating a skin
Many players want to have a new look, something which describes them. While you can constantly search the Internet for a previously produced skin, many players prefer to create their own.
A custom skin is a great way to personalize your player model and can be done either by utilizing a variety of community-made skin editors, or by editing the “steve.png” file manually with an image editor like Photoshop, GIMP, Paint.net or related image editors. When editing the “steve.png” document manually, make certain to keep the original picture dimensions and produce the background of your skin (the unused pixels) completely transparent. Normally, Minecraft may fail to recognize your skin as intended.
Alternatively, some people find it easier to use an application, possibly downloadable or in-browser, that will allow them to possess a live view of their character in a 3d model because they are editing the skin. For instance, a program known as Skincraft will further support players by giving them with a multitude of pre-made selections (such as for example hats, boot styles, sweaters, etc.), to give the skin creator exactly what they want, actually if the creator provides little to no artistic skill.
After making a custom skin, either by using a skin editor or by editing the “steve.png” file directly, one will still need to upload the .png document at the Profile page on Minecraft.net before the epidermis is applied. Once completed, start up Minecraft and appreciate your new skin! Other players in multiplayer will also be capable to find your skin layer. Note that you will not be able to see your custom made skin in case you are not logged in or if playing offline.
Note: the 1.8 templates can be utilized for pre-1.8 skins on your skin server. Only the very best half of the picture is used, e.g. not the individual legs and arms on the bottom, and no overlay on any coating except the head. If the skins is usually in source pack for 1.7, you must use the old system exactly.